Looking for a magical project to keep your little ones entertained? This mermaid toilet roll craft is the perfect choice! It’s a fun and creative way for kids to make their own mermaid using simple materials like toilet paper rolls and colorful cardstock. Not only is this craft easy and budget-friendly, but it also lets kids explore their creativity while making something adorable. This easy mermaid craft is a great activity for any child who loves mermaids and imaginative play.

If your child enjoys crafting, this cute mermaid paper craft for kids will be a hit. Using pastel-colored yarn for hair and strips of colorful paper for scales, kids can bring their mermaid to life. It’s a cute mermaid craft for girls that encourages creativity, and the result is a charming decoration or toy they can proudly display. Whether for a playdate or a solo project or as an activity for a mermaid themed party, this craft is a great way to spend an afternoon indoors. It can also be a great craft idea for an under the sea party along with this super cute octopus cupcake recipe.

Mermaid Toilet Roll Craft
This easy craft for girls is perfect for anyone who loves mermaids, and best of all, it uses recyclable materials like toilet paper rolls! The DIY mermaid from toilet paper roll is a simple yet delightful project that doesn’t require advanced crafting skills, making it ideal for younger kids. With some colorful cardstock, yarn, and a black marker to draw the face, you can transform a plain toilet roll into a magical mermaid. The possibilities are endless as kids can choose their favorite colors and styles to personalize their mermaids.

How to Make A Mermaid Using a Toilet Roll
Ready to dive into crafting? Let’s get started with a list of materials and step-by-step instructions to create your very own mermaid!
Materials Mermaid Craft Made From Paper Rolls:
- Toilet paper rolls (one for each mermaid)
- Cardstock paper (in pink or skin tones and various colors like blue, purple, etc.)
- Pastel-colored yarn (for the hair)
- Scalloped scissors
- Glue
- Thin black marker
- Pink paper (for blush)
- Regular scissors

Step-by-Step Instructions for Making Toilet Roll Mermaids:
Prepare the Base Cover for the Mermaid
Start by choosing a solid color cardstock for the mermaid’s body. For example, we used light purple cardstock for the purple mermaid and light blue cardstock for the blue mermaid. Cut the cardstock to the size needed to fully wrap around the toilet paper roll, leaving about a 1/4 inch overlap for gluing. Set this piece aside for now.

Create the Face Section
Cut a strip of light skin-colored cardstock to create the face area for your mermaid. This strip should be about 1/4 of the height of the toilet paper roll. Glue the skin-colored strip to the top of your base-colored cardstock piece, making sure it aligns evenly. This will create the area where you’ll later draw the face.
Make the Mermaid Scales
Using various shades of cardstock in colors that match your mermaid’s theme (e.g., blues or purples), cut strips of paper about 1 inch wide. Use regular or scalloped scissors to create a wavy, scalloped edge on one side of each strip.

These strips will form the scales. Starting at the bottom of your base-colored cardstock, glue the scalloped strips one by one, overlapping each strip slightly as you work your way up, creating a layered effect. Stop once you reach the skin-colored section for the face.

Draw the Face and Add Blush
Now, it’s time to give your mermaid some personality! Using a thin black marker, draw the mermaid’s eyes, nose, and mouth on the skin-colored area. For an extra cute touch, cut two small circles from pink paper and glue them onto the cheeks to give your mermaid a rosy blush or you can also use markers to draw the blush on the cheeks.

Wrap the Paper Roll
After decorating the cardstock, carefully wrap it around the toilet paper roll, securing it in place with glue. Ensure the edges align neatly, and press down firmly so the cardstock stays attached.

Add the Mermaid Tail
To make the tail, cut out a mermaid tail shape from the same color cardstock you used for the base of your mermaid or use two colors. The tail should have a wide top and narrow down toward the fins. Using the marker you can draw some details to the tail fins. Glue the tail to the bottom back side of the paper roll so that it appears to extend from the mermaid’s body.

Make and Add the Hair
For the hair, cut several strands of pastel-colored yarn to the desired length. You can create a ponytail, pigtails, or loose-flowing hair. Tie the strands together in the middle with another piece of yarn.

Apply glue to one end of the tied section and attach the hair to the inside top of the paper roll. Let the yarn strands fall naturally around the face, and adjust them to your liking.

Final Touches
Once everything is glued and dry, take a moment to add any additional details. You can decorate the mermaid’s tail with glitter, stickers, or small beads for extra flair. Now your mermaid is ready to swim into your magical collection!

Now your mermaid craft is complete! These cute little mermaids make wonderful decorations or fun toys for kids to play with. Each one is unique, so let your imagination take the lead as you create more mermaids with different colors and styles. Enjoy your magical mermaid crafting adventure!
Other Easy Crafts for Kids
- DIY Unicorn Pumpkin: The unicorn pumpkin craft is a magical and easy DIY project for kids, using a pumpkin, paint, and artificial flowers to create a whimsical unicorn decoration. With a glittery horn, colorful flower crown, and hand-painted face, this craft is perfect for adding a touch of enchantment to your fall or Halloween décor. It’s a fun and creative activity that’s sure to bring smiles and spark imagination!
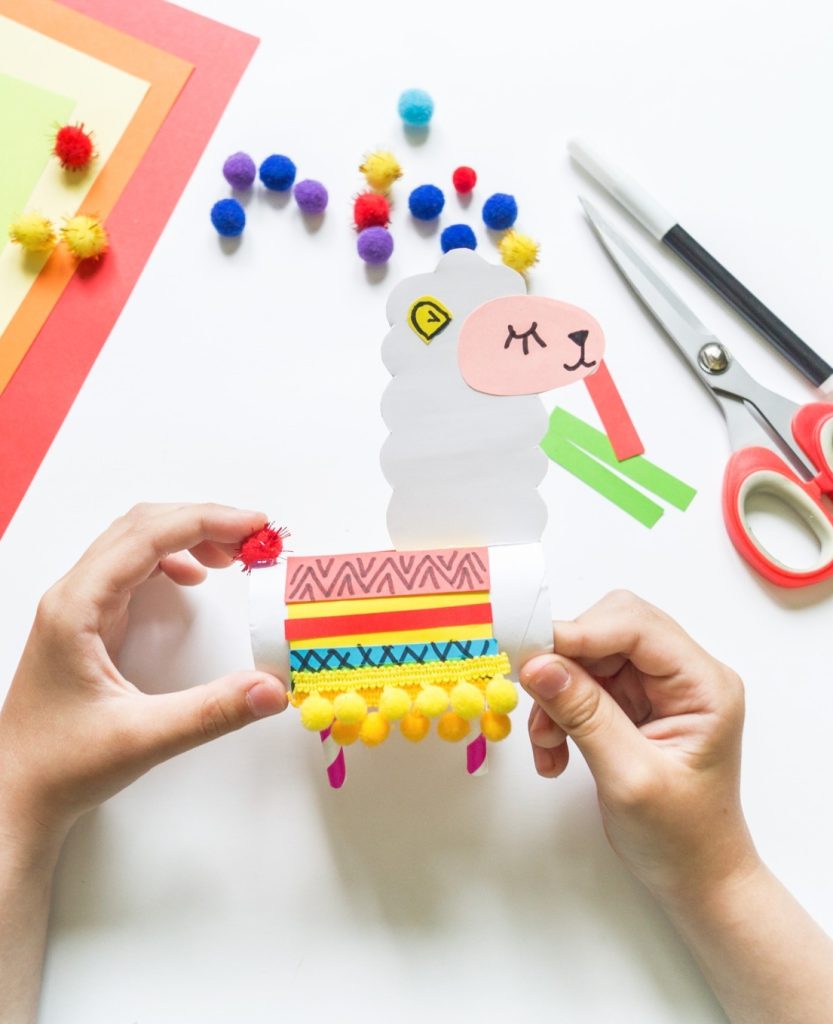
- Easy Paper Roll Llama Craft: This simple craft involves making a llama-shaped mini piñata, teaching kids about the significance of llamas in Andean culture. It’s a fun way to combine crafting with cultural education during Hispanic Heritage Month.

Through her writing, Paula helps travelers discover Guatemala beyond the typical tourist route with practical advice, local recommendations, and authentic experiences that connect visitors with the country’s people, culture, and traditions.
Planning a trip to Guatemala? Paula offers personalized Guatemala itinerary planning and trip consultation services tailored to your interests, travel style, and budget. Contact her at [email protected] to learn more.
- Hotel Casa Realeza Antigua Guatemala Review: Stay by La Merced - July 21, 2026
- Best Restaurants in Panajachel: Where to Eat in Pana - July 21, 2026
- Traditional Foods of Sololá: What to Eat Around Lake Atitlán - July 20, 2026

