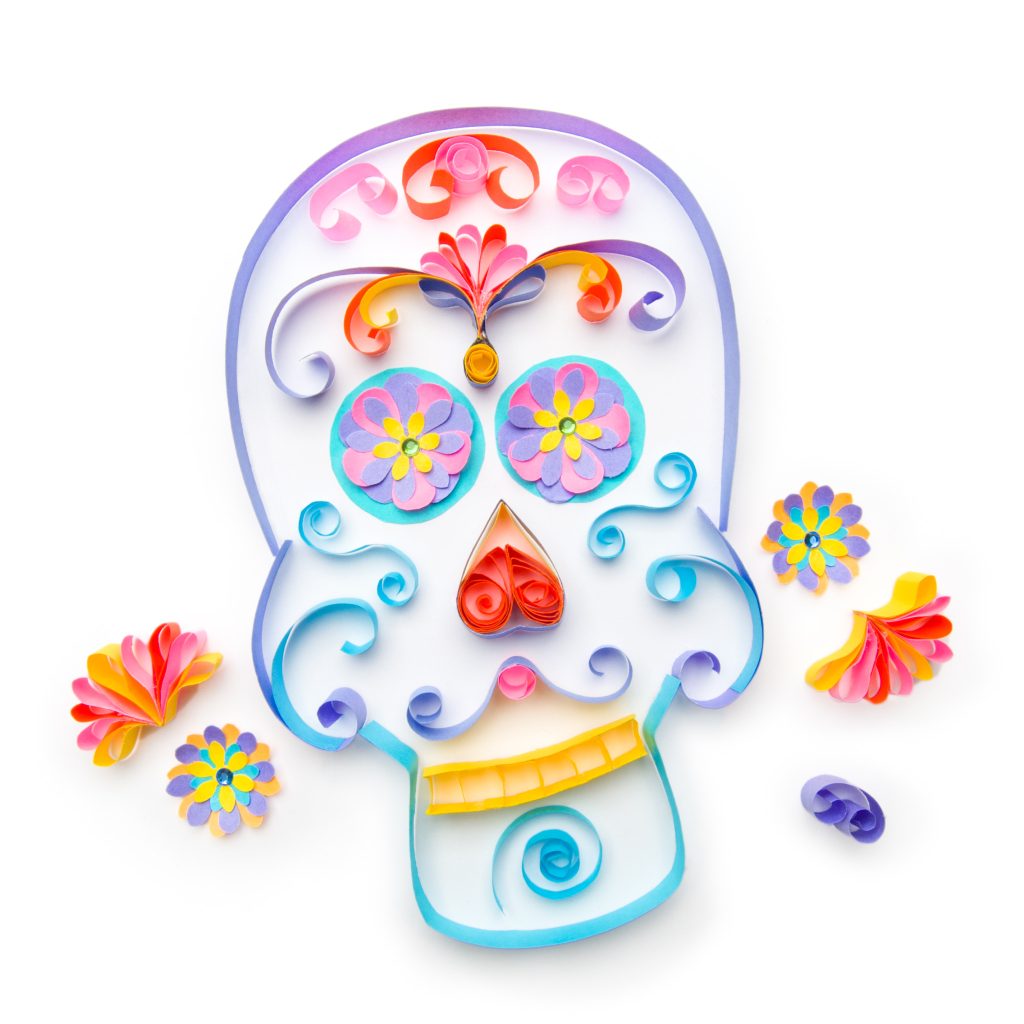
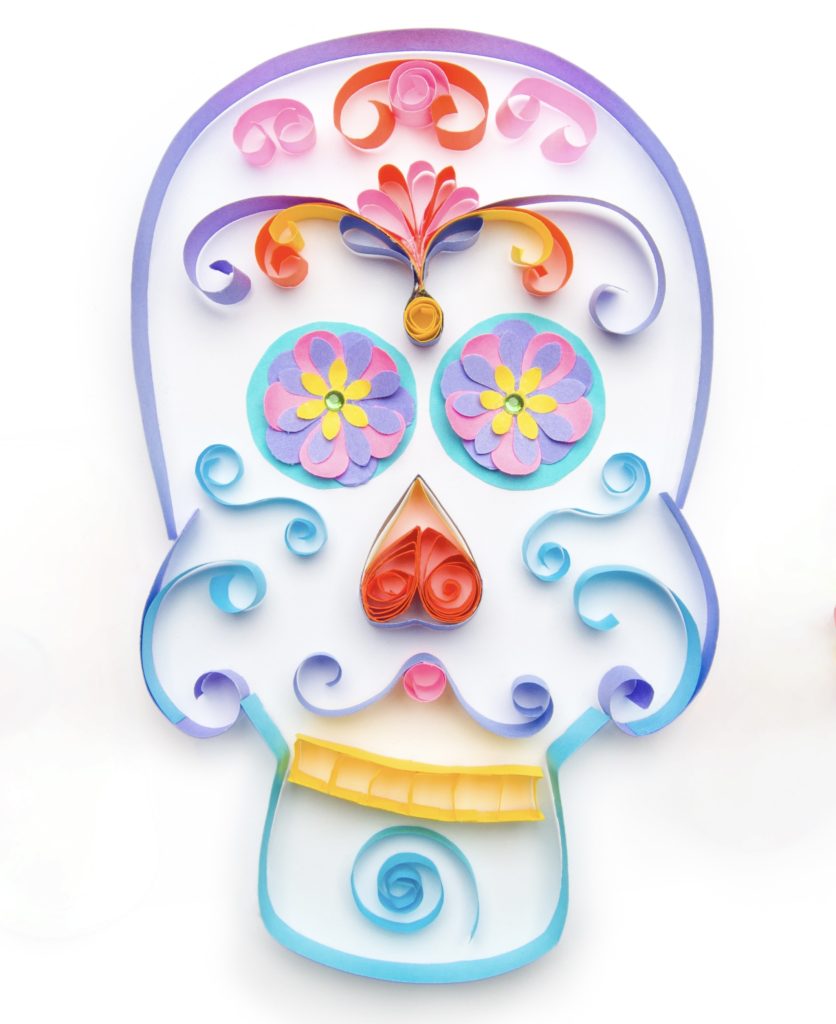
This easy Día De Los Muertos sugar skull is an easy quilling project. This fun Day of the Dead craft is perfect for beginners. This will make a beautiful addition to your list of Day of the Dead crafts for kids. This engaging Day of the Dead project offers an opportunity for young artists to explore their creativity while learning about the traditions of this vibrant celebration. Whether you’re planning this as one of your Day of the Dead activities with kids at home or in the classroom, this easy quilling craft is super fun to make. It can be framed and used as a decoration in your Dia de los Muertos ofrenda along with your pan de muerto, lanterns, and other altar decorations like papel picado, marigolds, and other Day of the Dead flowers.
What is the Day of the Dead and the Symbolism Behind Sugar Skulls
Day of the Dead (Día de los Muertos) is a vibrant and culturally significant holiday celebrated in Mexico. There are also many different Day of the Dead Celebrations in Latin America. This multi-day festival, typically from October 31st to November 2nd, is a time for families and friends to unite to honor and remember loved ones who have passed away. Sugar skulls, or “calaveras,” are central to Day of the Dead celebrations. These intricately decorated sugar skulls are not only visually striking but also carry deep symbolism, representing both the joyous remembrance of the deceased and the idea that death is a natural part of the cycle of life.
What is Quilling?
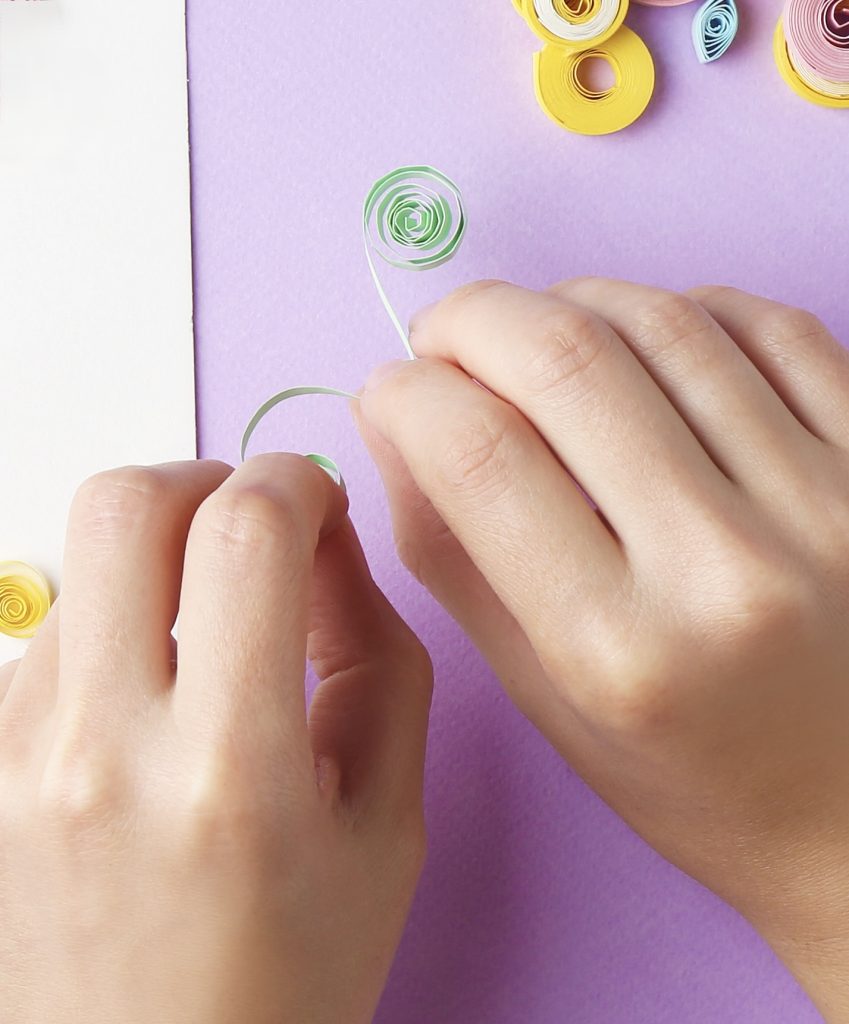
Quilling is a beautiful and delicate art form that involves rolling and shaping narrow paper strips to create intricate designs and patterns. It has a rich history dating back to ancient Egypt. It has evolved into a popular craft enjoyed by people around the world. Quilling offers endless creative possibilities, allowing artists and crafters to fashion everything from intricate floral arrangements to detailed portraits using nothing more than paper and glue.
How to Make a Sugar Skull Quilling Craft
This easy and enjoyable sugar skull quilling craft combines the beauty of Day of the Dead sugar skulls with the art of quilling. In this craft project, we’ll guide you through the steps to create your own vibrant and symbolic sugar skull using quilling techniques. Whether you’re a seasoned quiller or a beginner looking to try something new, this project is designed to be accessible and fun. Get ready to craft a unique sugar skull that you can proudly display as part of your Day of the Dead celebrations or simply as a creative expression of your artistic skills.
Materials Needed for your Day of the Dead Quilling Craft
To make your sugar skull quilling craft, you’ll need some basic supplies:
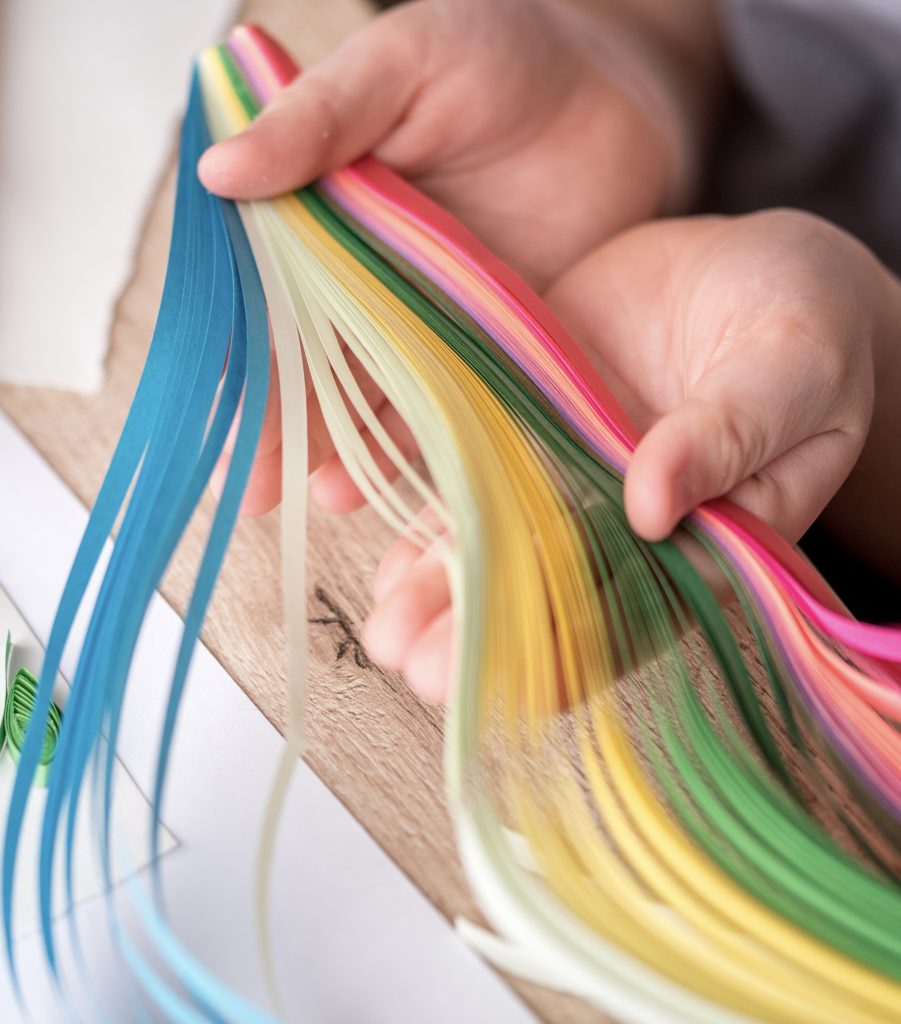
- Quilling Paper Strips: Get colorful strips of quilling paper. These will help you create the detailed parts of your sugar skull.
- Quilling Tools: You’ll need a special tool that resembles a needle to roll and shape the paper strips. A quilling board with different-sized circles is also a great idea to help you shape quilling pieces evenly. I like this quilling tool kit with everything you’ll need, including some tweezers to make it easier to place your quilled paper strips exactly where you want them.
- Glue: Choose clear craft glue that dries without leaving any marks. It will hold your quilled pieces together. I really like this craft glue because it dries clear, is wrinkle resistant and it includes three ultra fine metal tips that are perfect for applying glue to your quilling paper strips.
- Quilling Board: You can use a quilling to help shape your quilled pieces evenly. It’s not necessary, but it can be handy.
- Sugar Skull Template: Find or print a sugar skull template as a reference for your design. You can find these online or create your own based on traditional patterns. Traditional patterns for sugar skulls can include floral designs, geometric shapes, and religious symbols such as crosses.
- Daisy flower punches in different sizes: I used daisy flower punches in a few different sizes to create the flowers for the sugar skull’s eyes.
- Scissors: Have a pair of scissors to cut the paper strips to the correct lengths.
- Toothpick or Fine Brush: You’ll use a toothpick or a fine brush to apply glue to small areas of your quilled pieces.
- Background Paper: Pick a sturdy piece of paper or cardstock to use as the background for your sugar skull. Your quilled design will go on top of this paper.
- Optional Decorations: If you want, you can add extras like sequins, rhinestones, or shiny paint to give your sugar skull more detail and style. I used rhinestones for the center of the eyes.
With these supplies, you can start making your sugar skull quilling craft. Gather them up, and let’s get creative!
Step-by-Step Instructions
Creating your own sugar skull quilling craft is a fun and creative process. Once finished, this Dia de los Muertos craft is a beautiful and vibrant sugar skull quilling art piece you can display on your wall for the Day of the Dead or add to your ofrenda.
- Prepare Your Workspace:
- Lay down a clean and clutter-free work surface.
- Arrange all your materials within easy reach for convenience.
- Create Quilled Shapes:
- Select a color for your sugar skull’s base, and using the template, draw the skull’s outline on your cardstock paper or canvas board.
- Start by placing paper strips to create the skull’s outline and glue them to your cardstock.
- Cut out the flowers for the eyes and place them in your skull.
- Begin to create the decorations and designs for your sugar skull by rolling paper strips into different shapes. I used two loose teardrop shapes for the mouth and one loose coil between the eyes to serve as the starting point for the rest of the decorations in the forehead of the skull. I used just a few simple shapes for most of the sugar skull’s decoration: very loose coils, very loose S scrolls, very loose C scrolls, and then I just bent some of the strips to form flower petal shapes and other easy basic shapes like the nose.
- Experiment with different colors and shapes for the decorative elements. You can make your sugar skull design as simple or as intricate as you want.
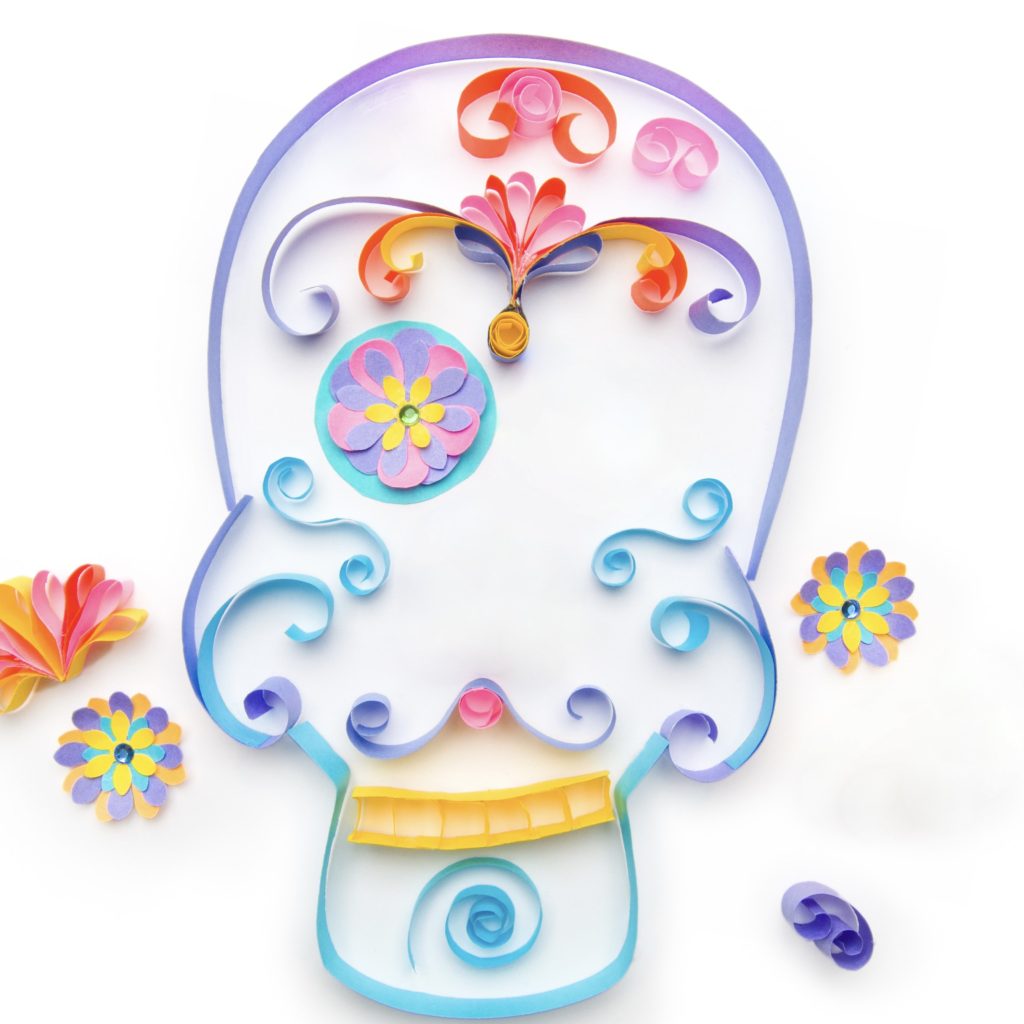
- Attach the Quilled Shapes:
- Apply a thin layer of glue to the back of your quilled shapes.
- Carefully place them on the outlined sugar skull, following the design.
- Add Razzle Dazzle:
- Glue in the rhinestones, glitter, or any other embellishments. This can be very subtle, like my design, or you can add many embellishments for a more dazzling look.
- Allow to Dry:
- Let your sugar skull quilling craft dry completely before handling or displaying it.
- Frame or Display:
- Once dry, you can frame your sugar skull quilling art or display it as a vibrant decoration for Day of the Dead celebrations.
Quilling Tips and Tricks
These quilling tips and tricks will help make your sugar skull quilling project a more fun and rewarding experience. Keep these recommendations in mind to make the process smoother:
- Pre-cut your quilling paper strips to save time and maintain consistency.
- Practice rolling and shaping paper coils on scrap paper to familiarize yourself with the technique.
- If you’re new to quilling, I recommend this excellent quilling kit. It has everything you’ll need, from quilling paper and quilling tools to detailed instructions for creating a wide variety of shapes.
- Don’t worry if you make a mistake; quilling paper is forgiving, and you can often reshape coils.
- Embrace your creativity by experimenting with various colors and patterns to make your sugar skull quilling craft uniquely yours.
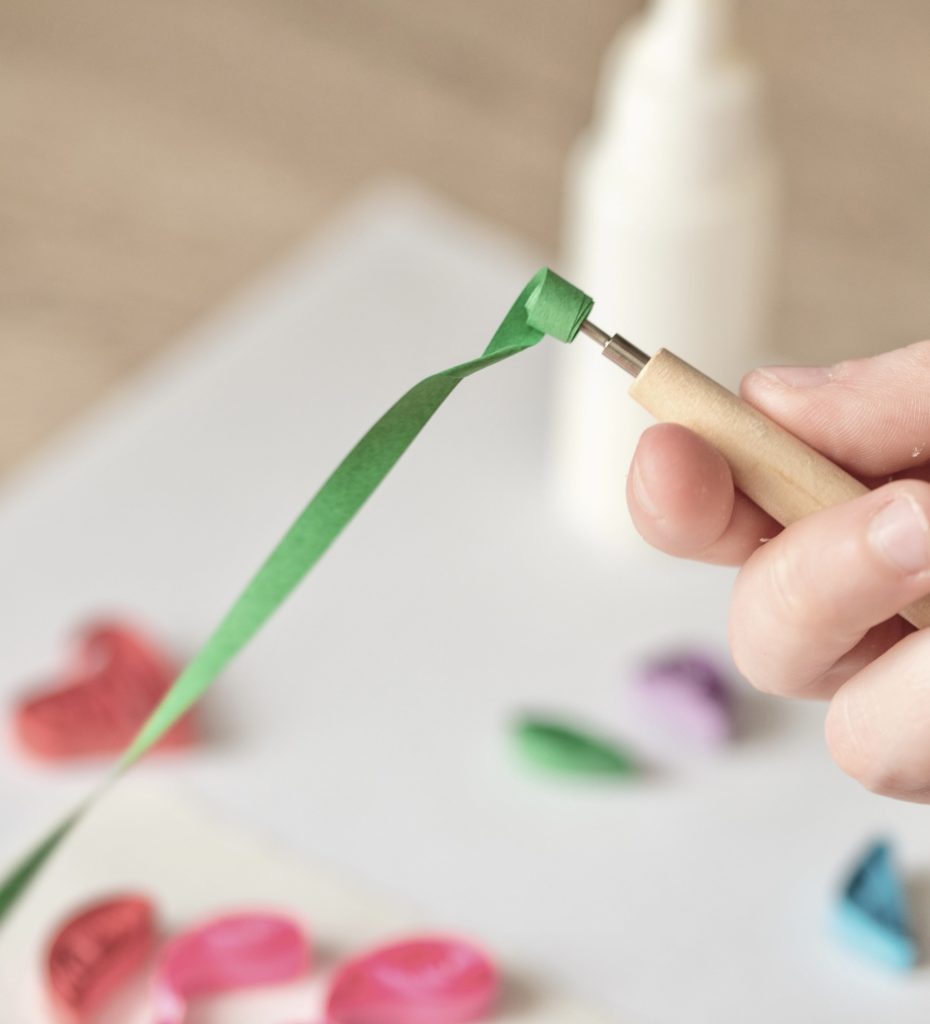
Common Quilling Mistakes to Avoid:
- Use a thin layer of glue to prevent paper strips from becoming overly wet and challenging to work with.
- Ensure that your quilled shapes are securely attached to the background paper to prevent any pieces from detaching.
- Handle the delicate quilled coils gently to avoid accidental damage.
- Allow your craft to dry thoroughly before handling or displaying it to maintain the integrity of your design.
By keeping these tips and avoiding common mistakes, you’ll create a stunning sugar skull quilling art piece quickly and confidently.
How to Add Personal Touches and Symbolism:
Personalizing your sugar skull quilling craft can make it a heartfelt tribute or a representation of something dear to you.
- Choose colors that hold personal significance or represent a particular theme.
- Adding initials or names can commemorate loved ones, making it a beautiful remembrance piece.
- Incorporating symbols that have meaning for you or the intended recipient, such as hearts, crosses, or other cultural motifs, can add depth and significance to your creation.
Don’t be afraid to infuse your personality and emotions into your craft, as it will make it even more meaningful and unique.
Other Easy Sugar Skull Day of Dead Crafts and Projects
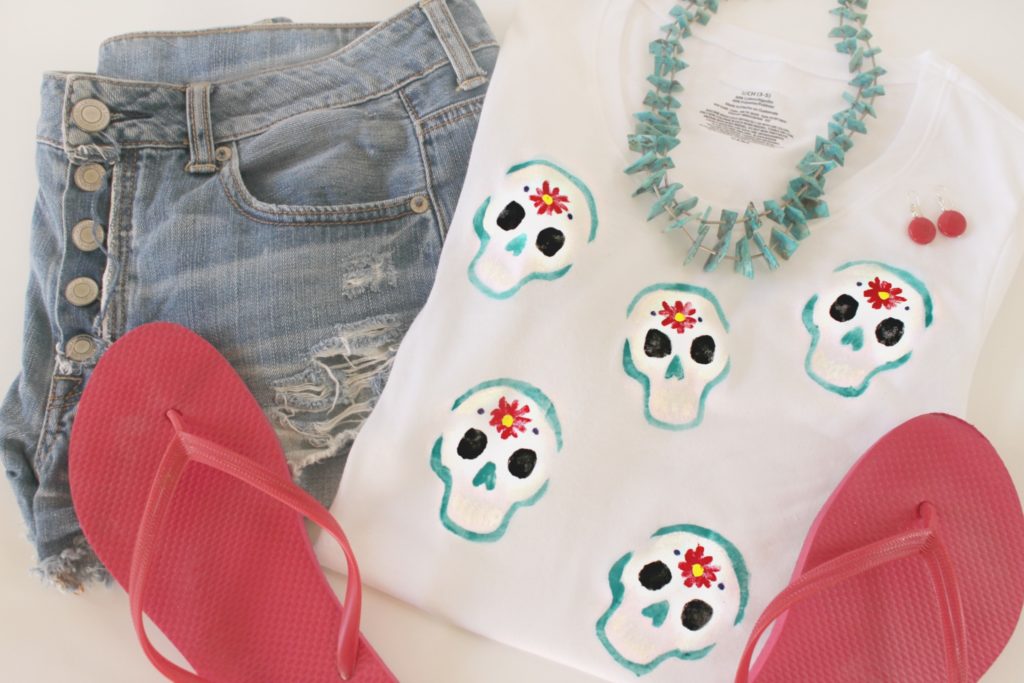
Sugar Skull DIY T-shirt
This sugar skull DIY tee is so cute, easy to make and affordable. It’s a great sugar skull craft to make on a lazy afternoon and the design is fun and colorful, perfect to wear any time of the year.
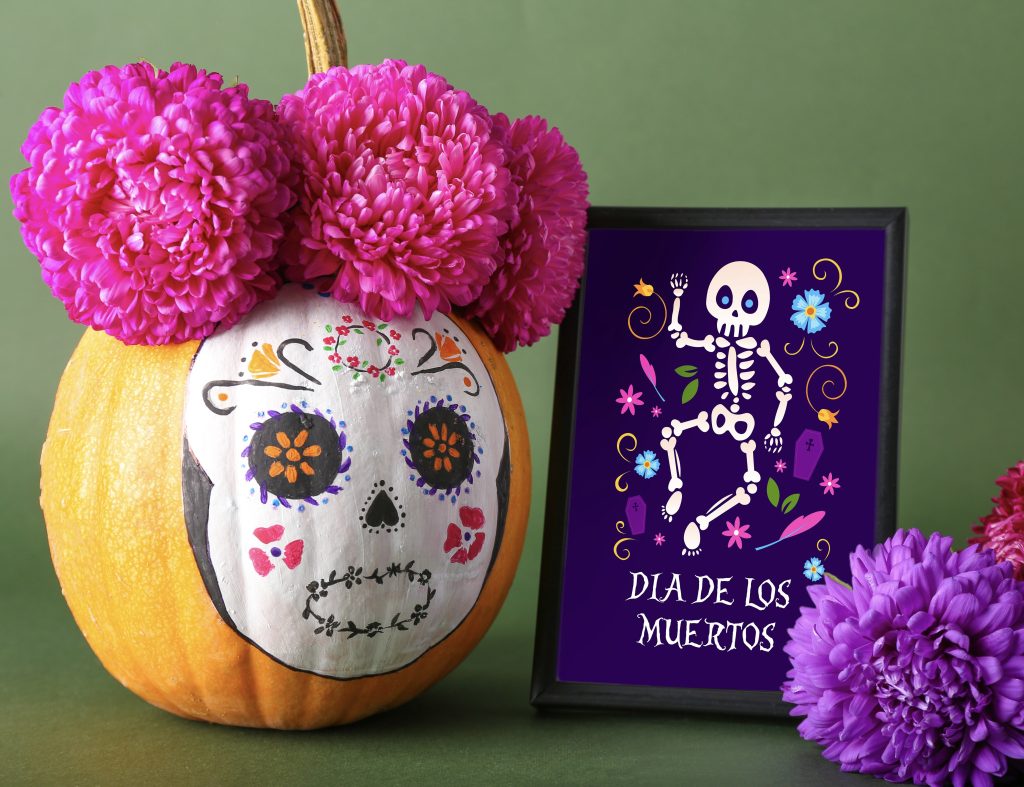
Sugar Skull Pumpkins: Easy Day Of The Dead Painted Pumpkin Craft
As Dia de los Muertos draws near, I’m excited to share one of my favorite and easy Dia de los Muertos crafts. I will be sharing how to make these super cute Day of the Dead painted pumpkins! If you’re looking for easy Day of the Dead craft for kids, these Sugar Skull Pumpkins are a great option.
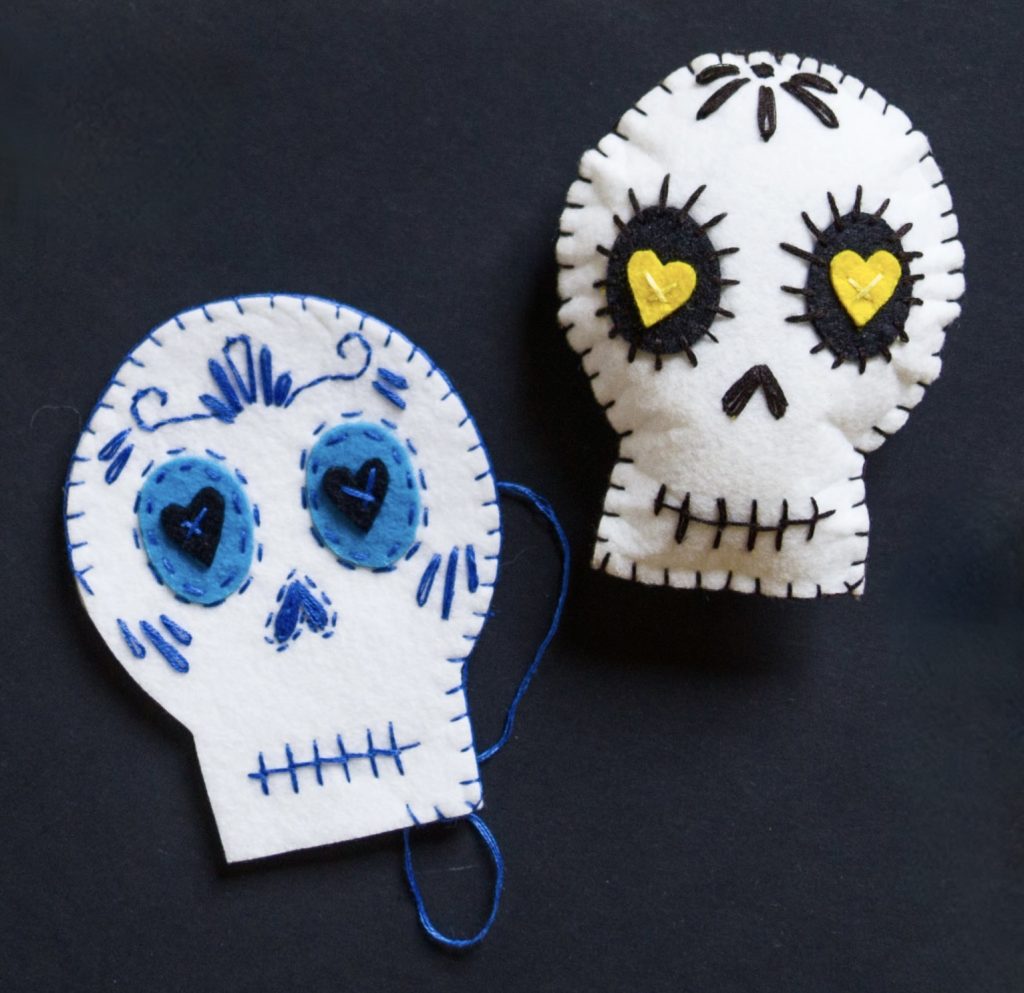
Felt Sugar Skull Craft For Day Of The Dead
Get ready to unleash your creativity with a fun and easy felt sugar skull craft perfect for celebrating Day of the Dead. These are fun to make and there’s no sewing experience required.
- Guatemalan Dulce de Chilacayote Recipe (Crystalized Chilacayote Candy) - February 26, 2024
- Guatemalan Naranjas en Miel Recipe (Candied Oranges Recipe) - February 25, 2024
- Traditional Guatemalan Candy - February 25, 2024
